

- Welcome emails
- Drip campaigns
- Payment recovery
- Abandoned cart
- Trial expiration
{{{RESEND_UNSUBSCRIBE_URL}}} for compliance with non-transactional product and marketing messaging. See Unsubscribe behavior for how to add it to a Send Email step, or read more about when to use an unsubscribe link.
How it works
To start executing an Automation, you need to:Create an Automation
- Using the dashboard
- Using the API
Create Automation
The Automations page shows all existing automations. You can search by name and filter by status (All Statuses, Enabled, or Disabled) to quickly find the automation you need.Click Create automation to start a new Automation.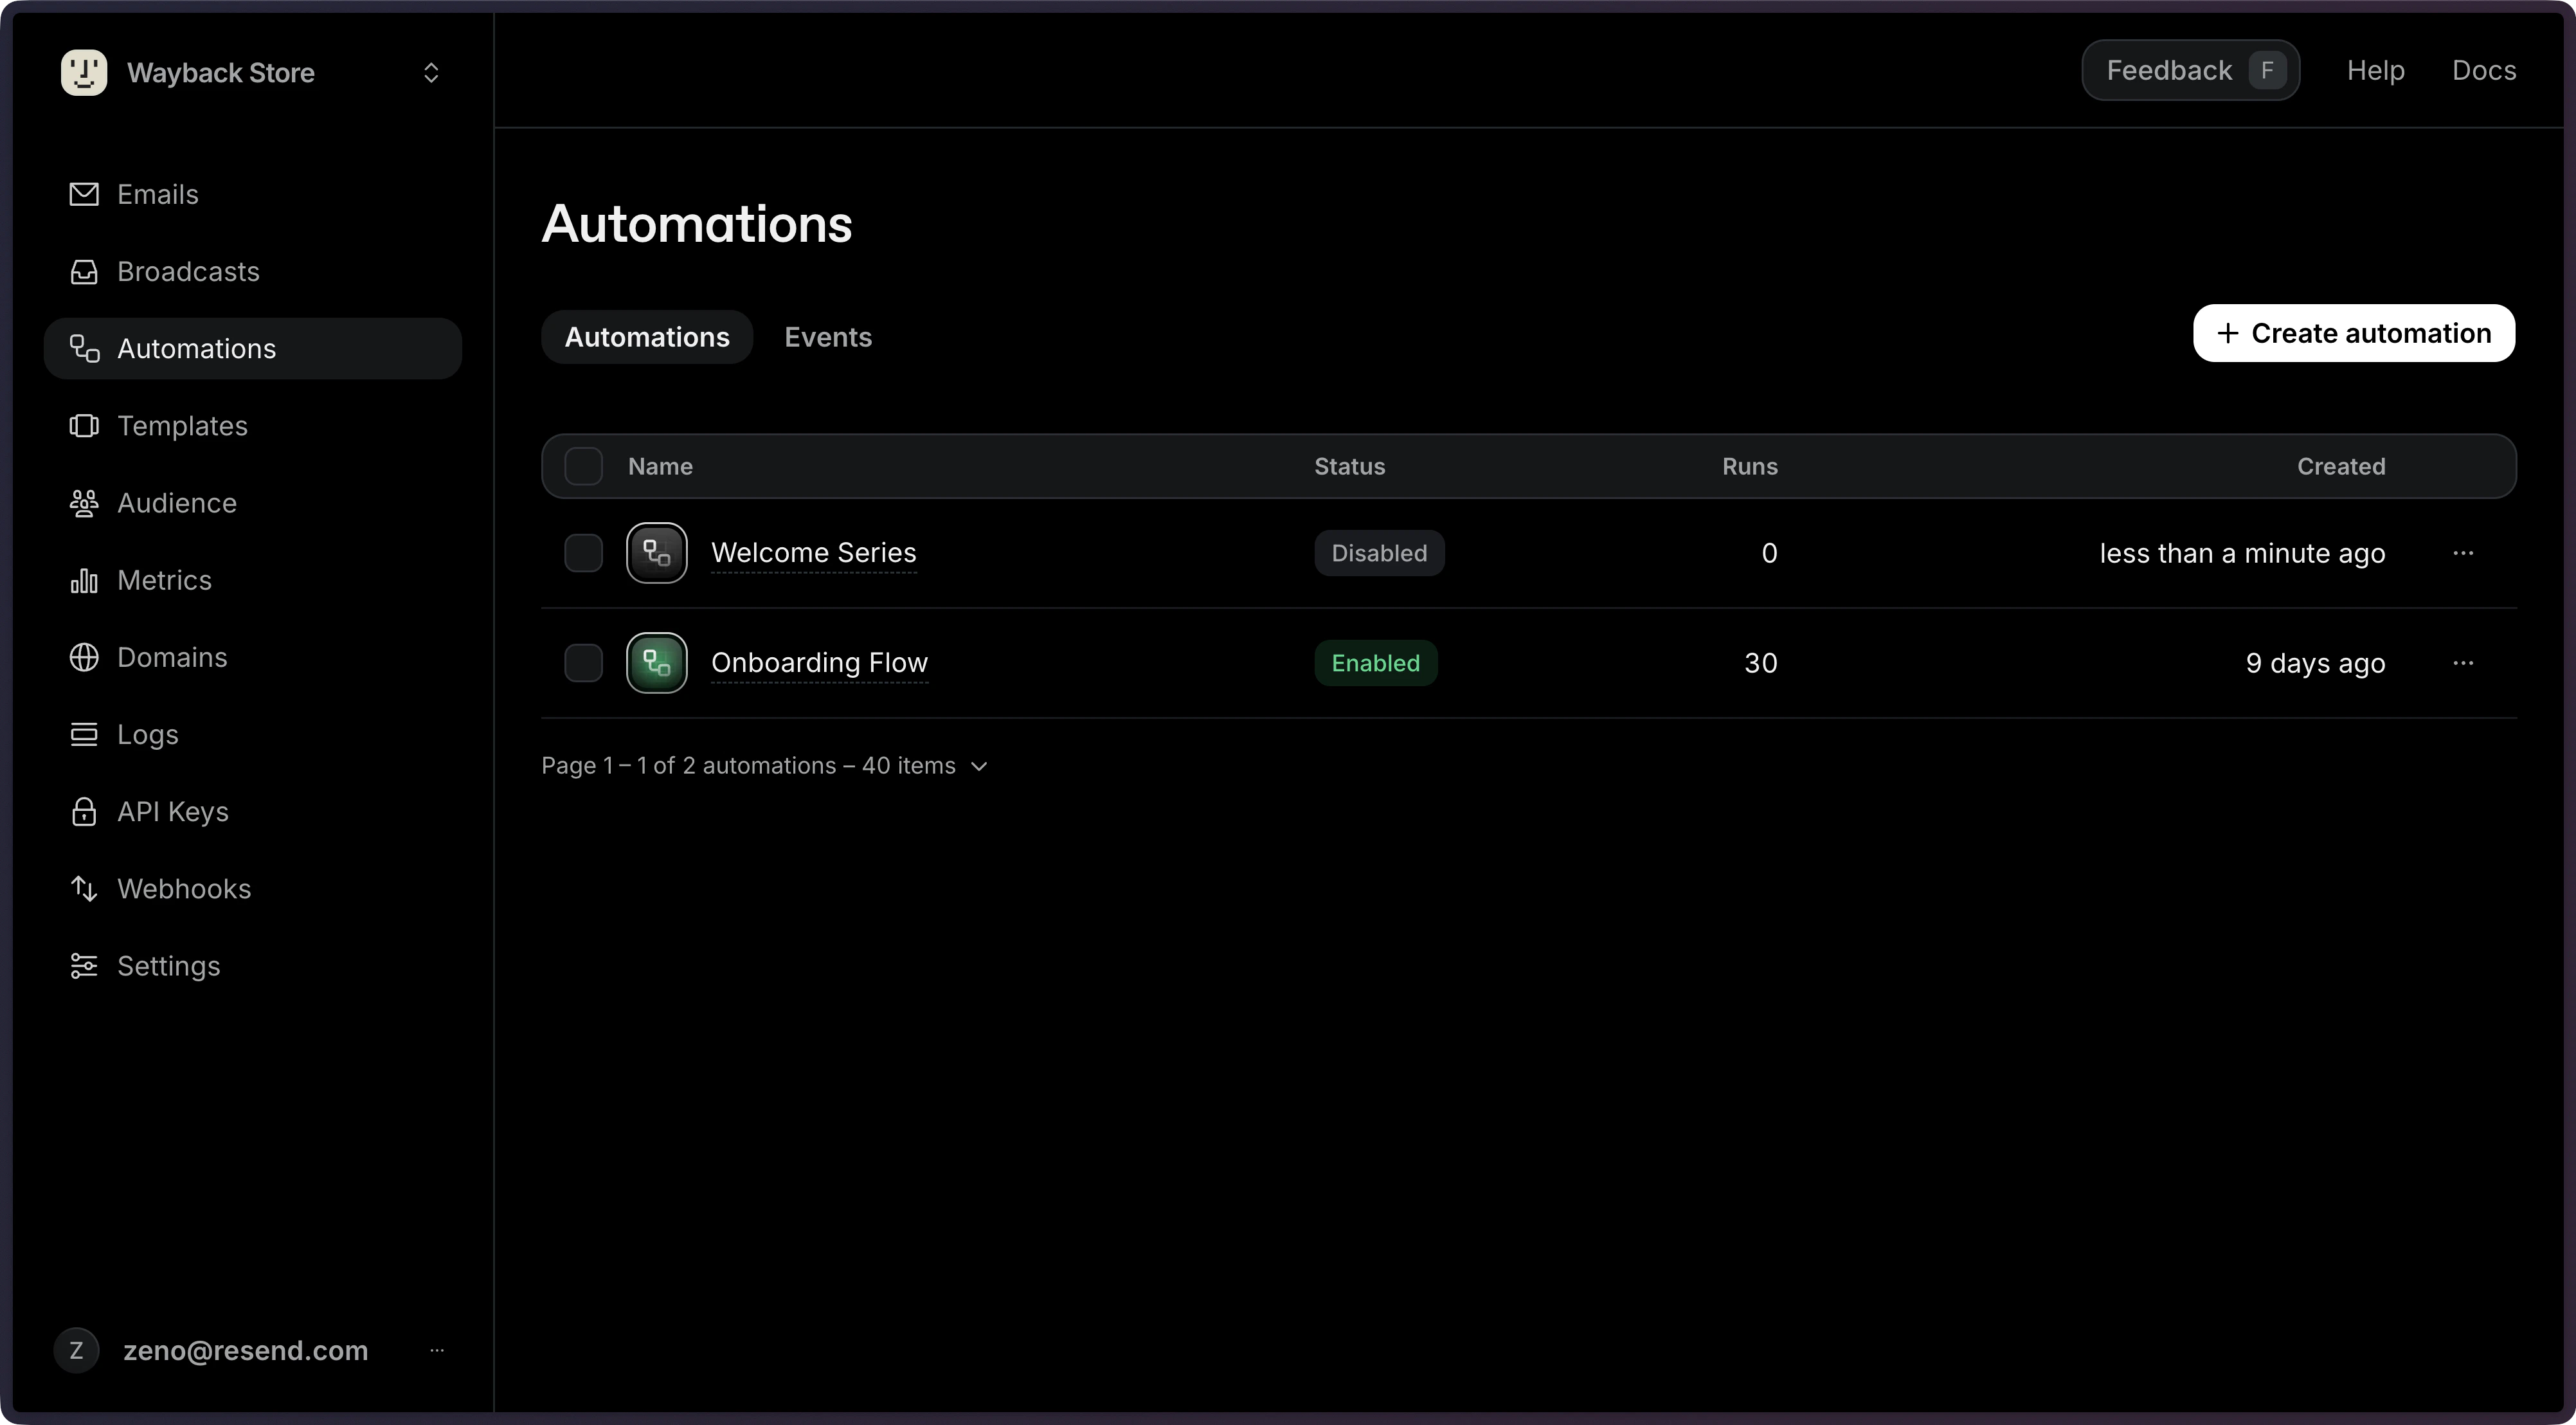
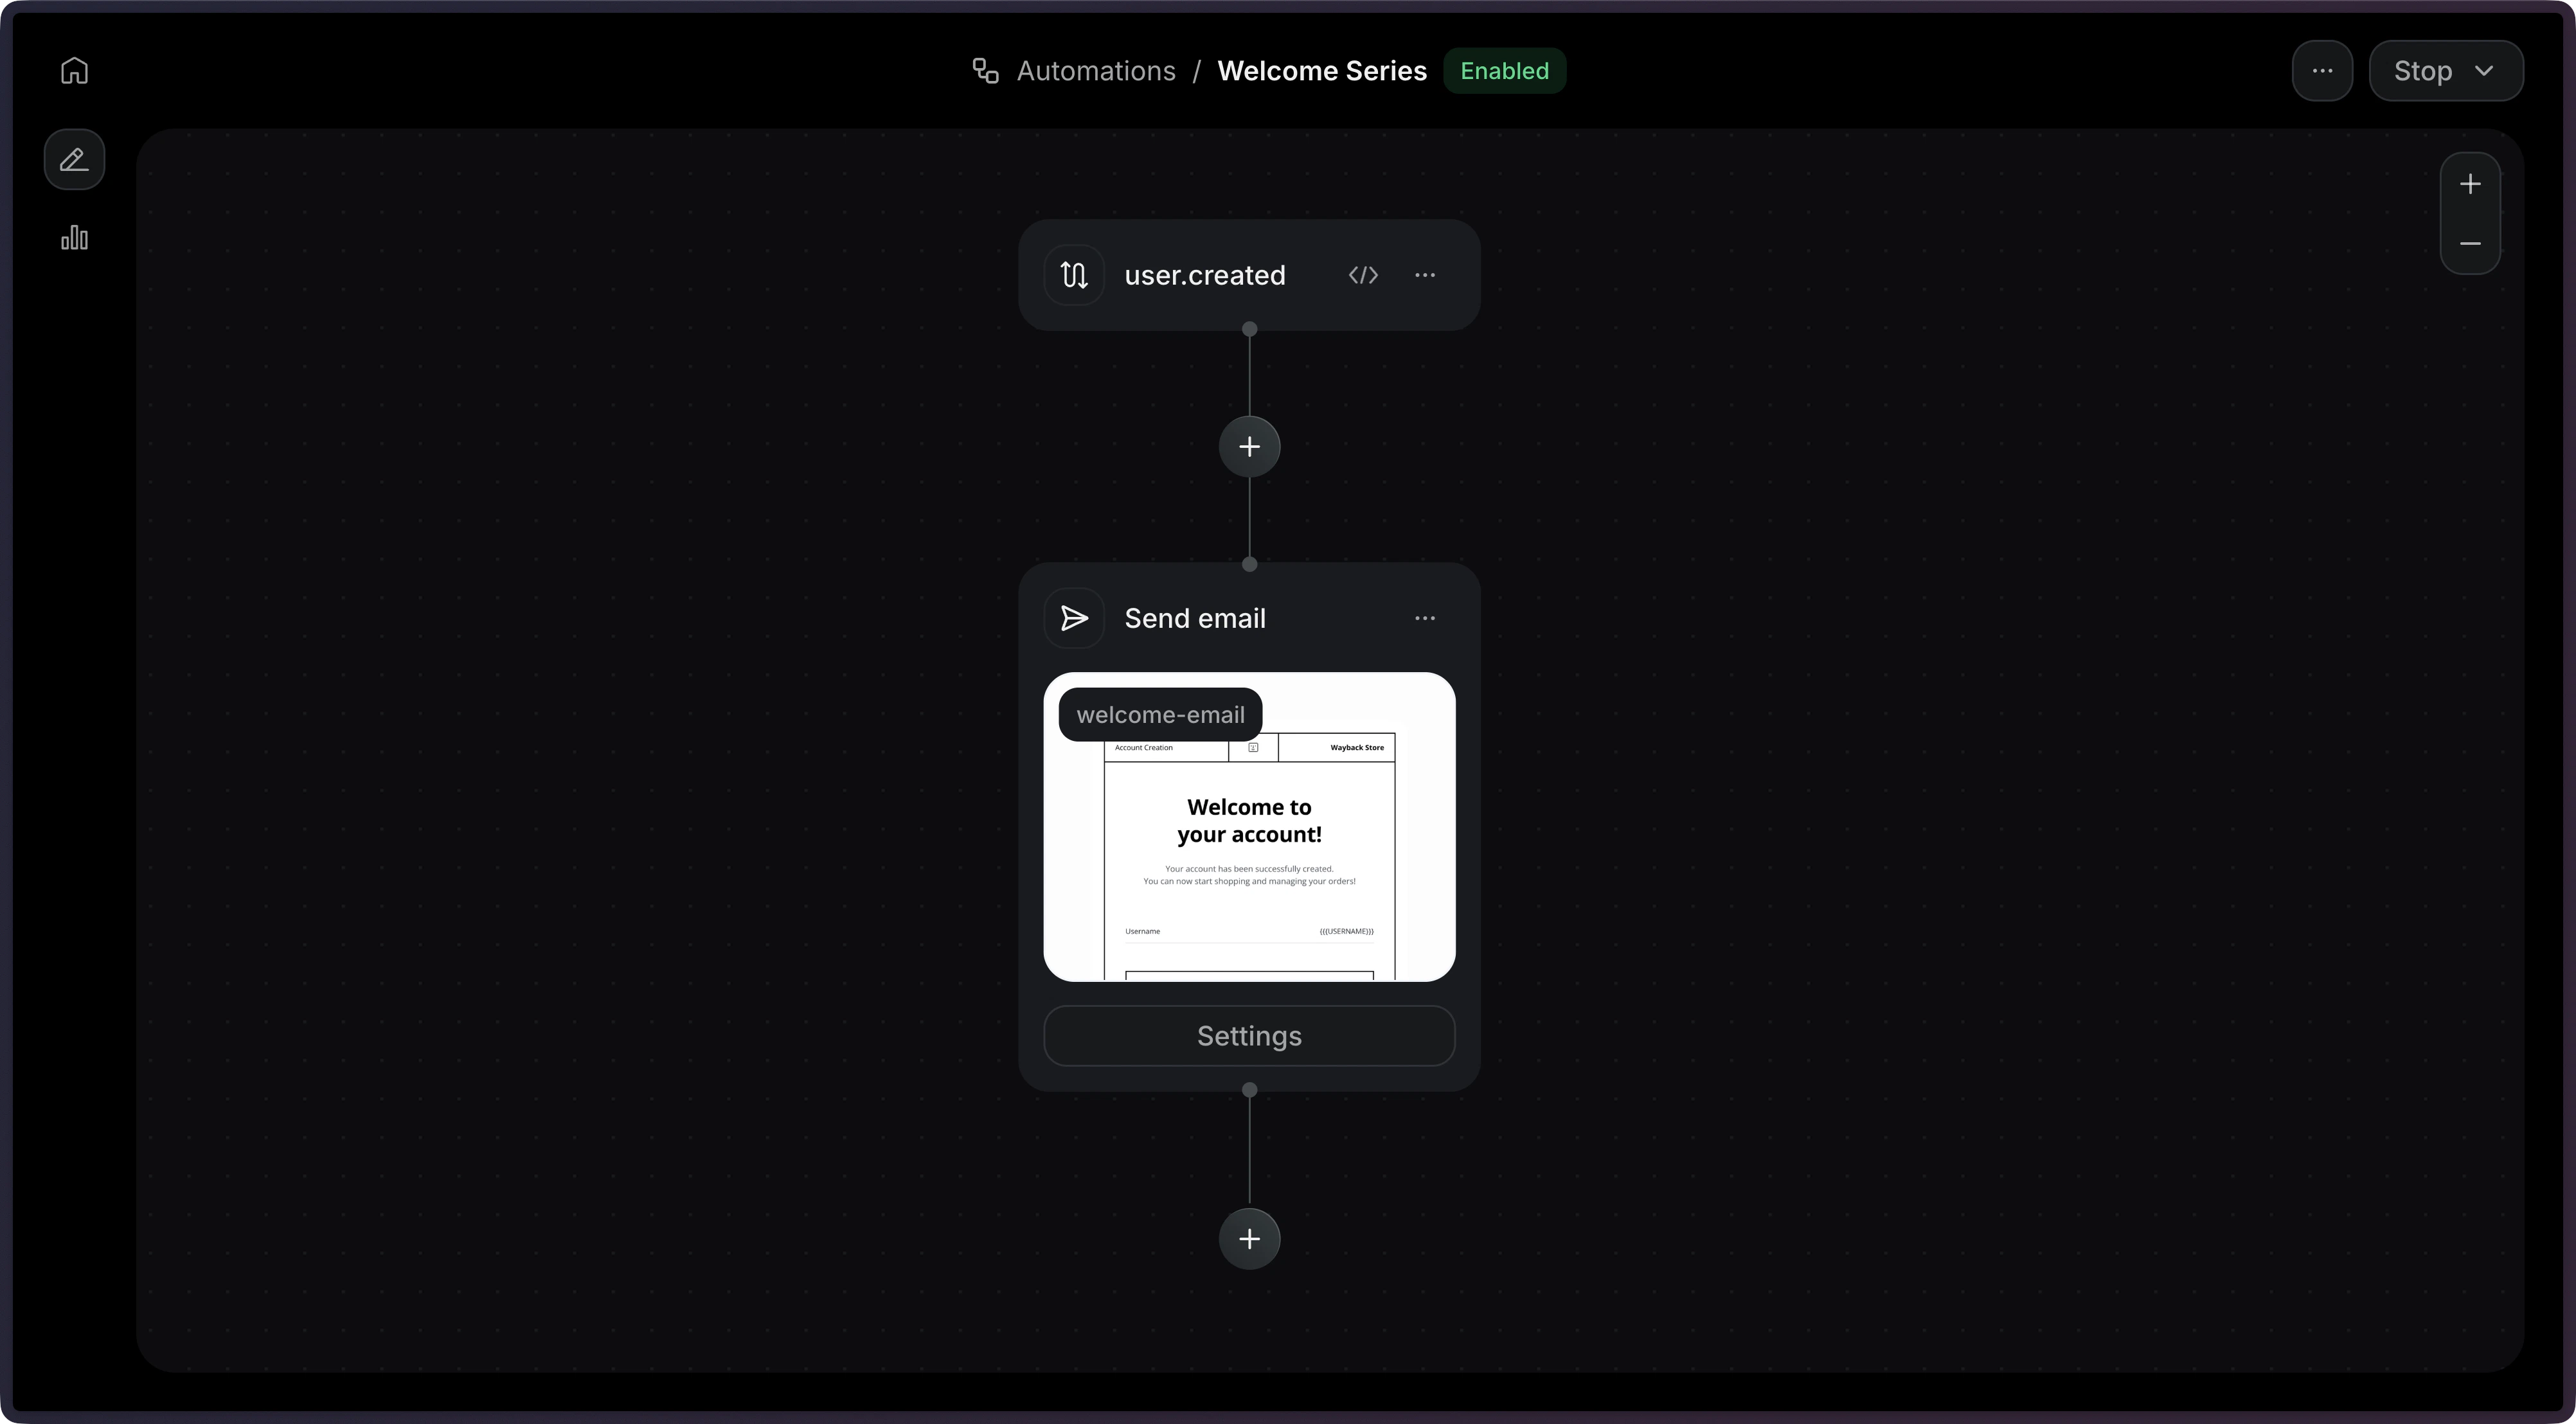
Add Trigger
A trigger is the first step that will run when the Automation is executed. You can use a custom event like 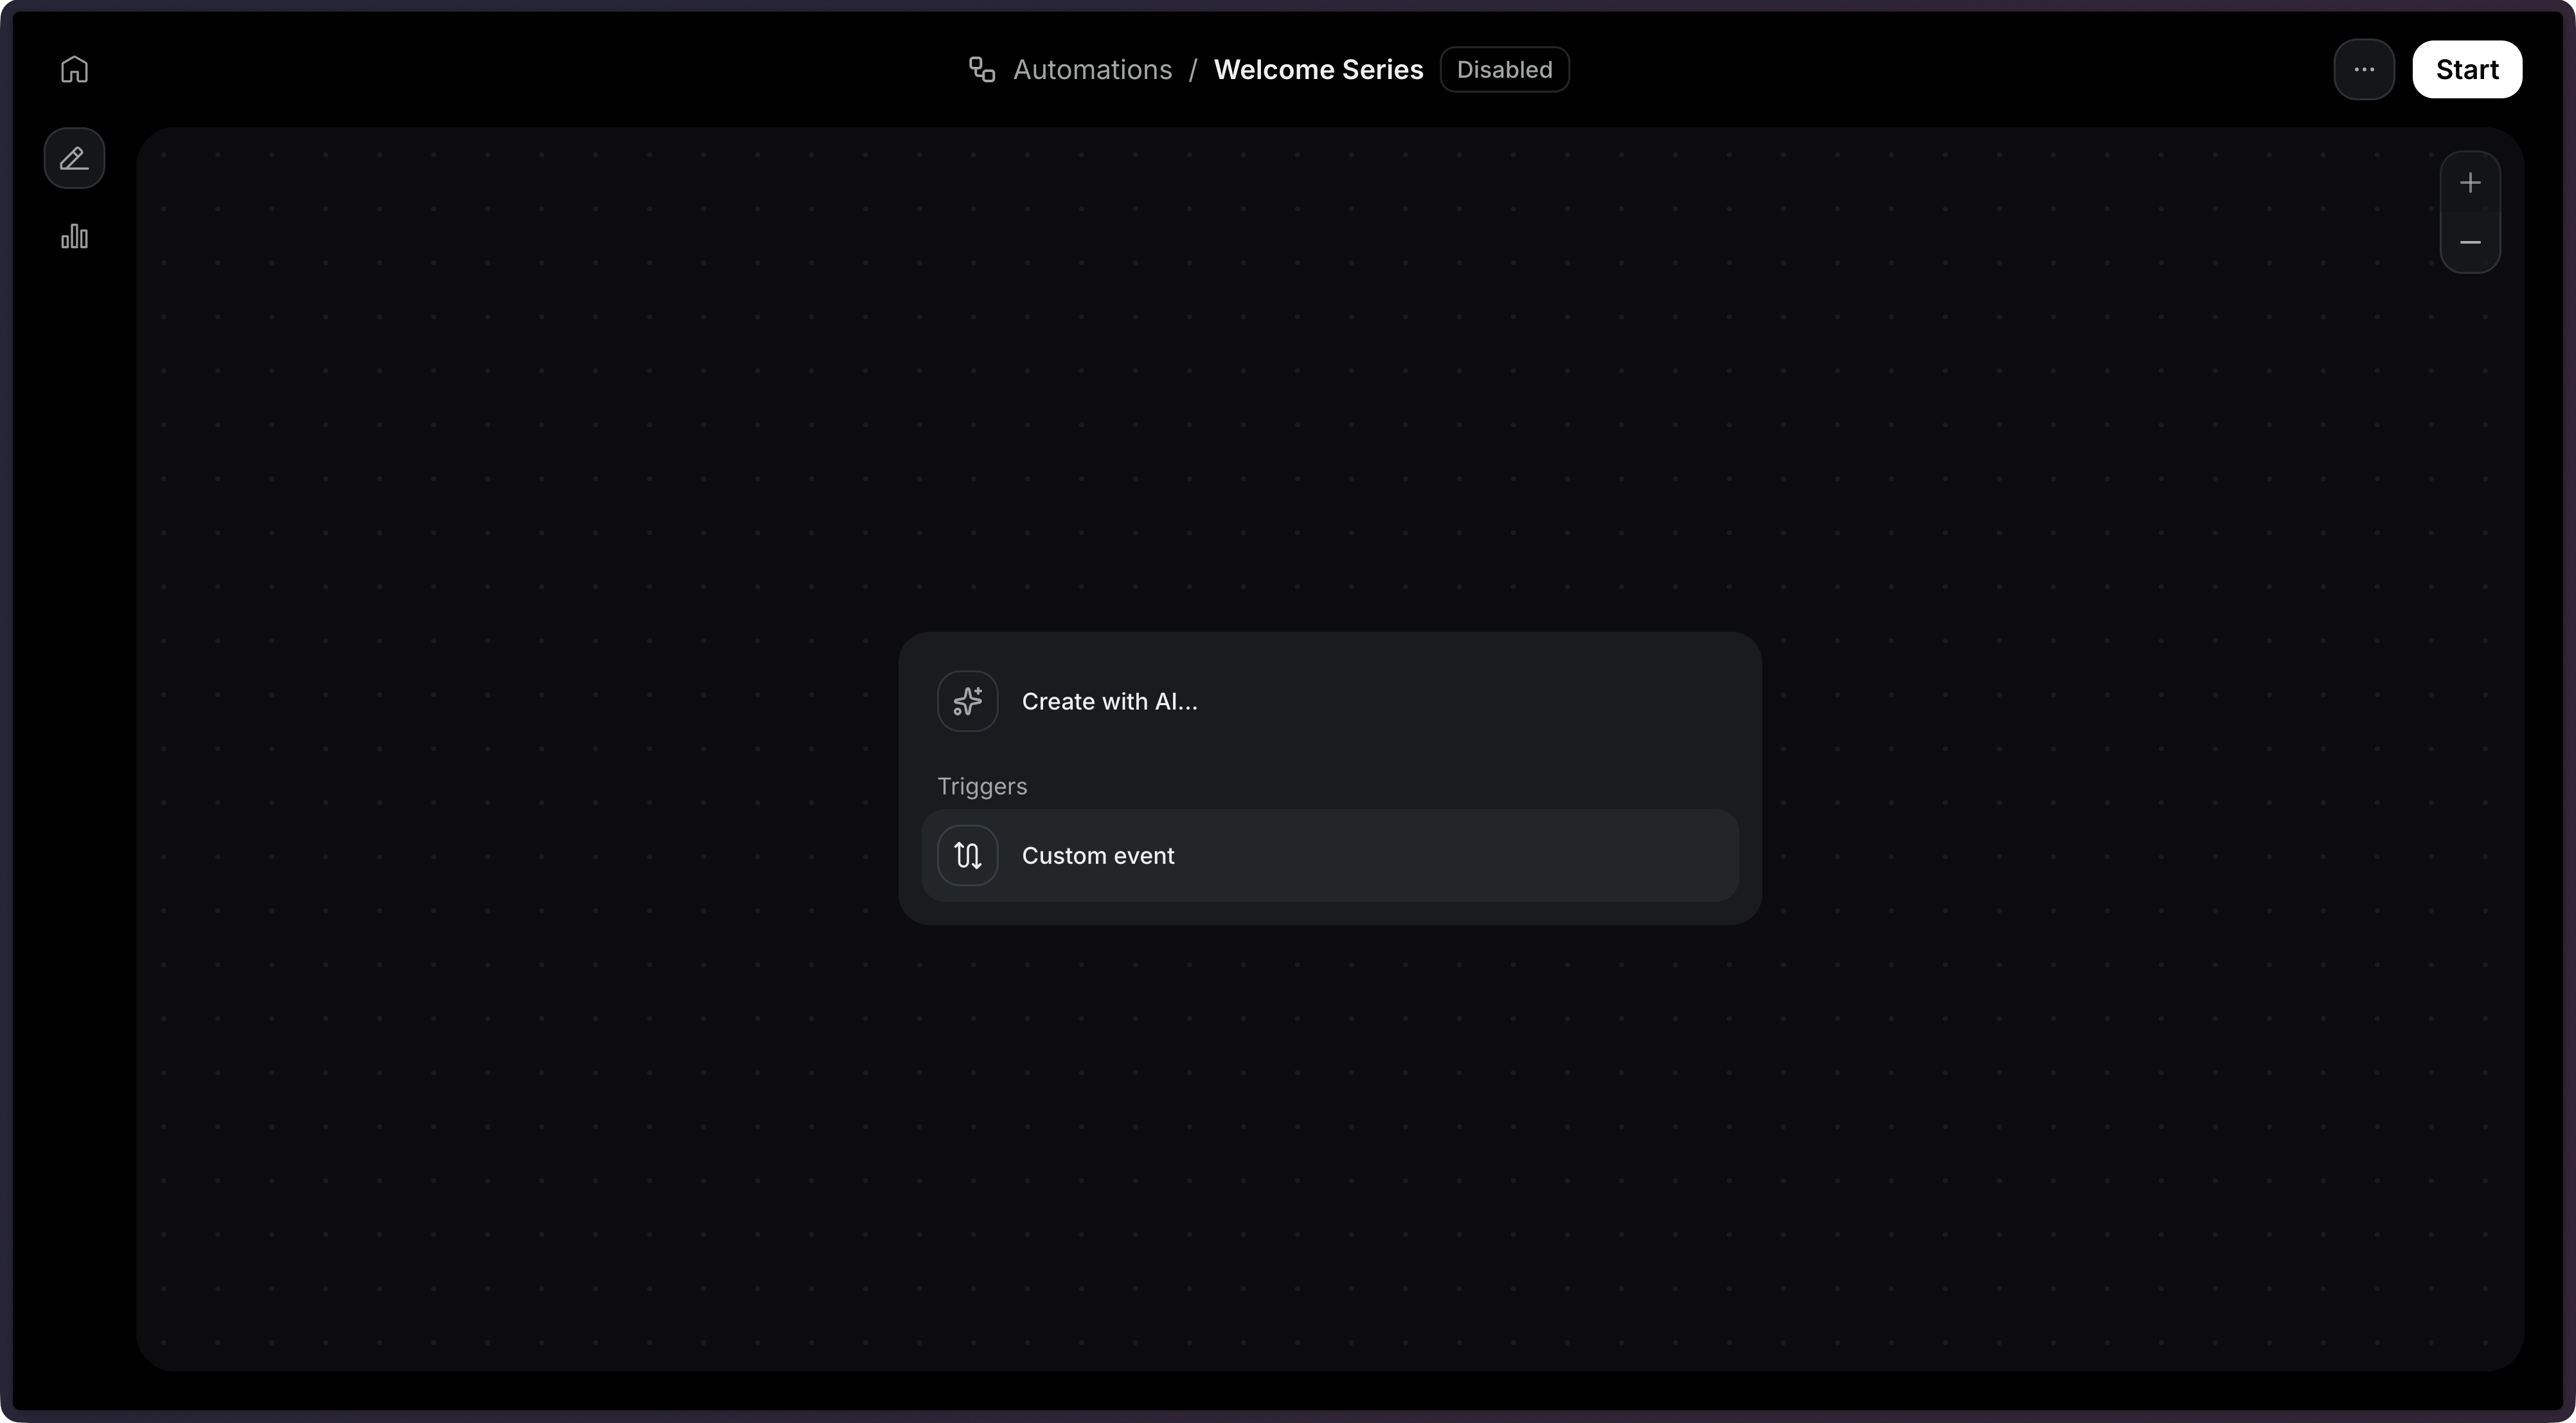
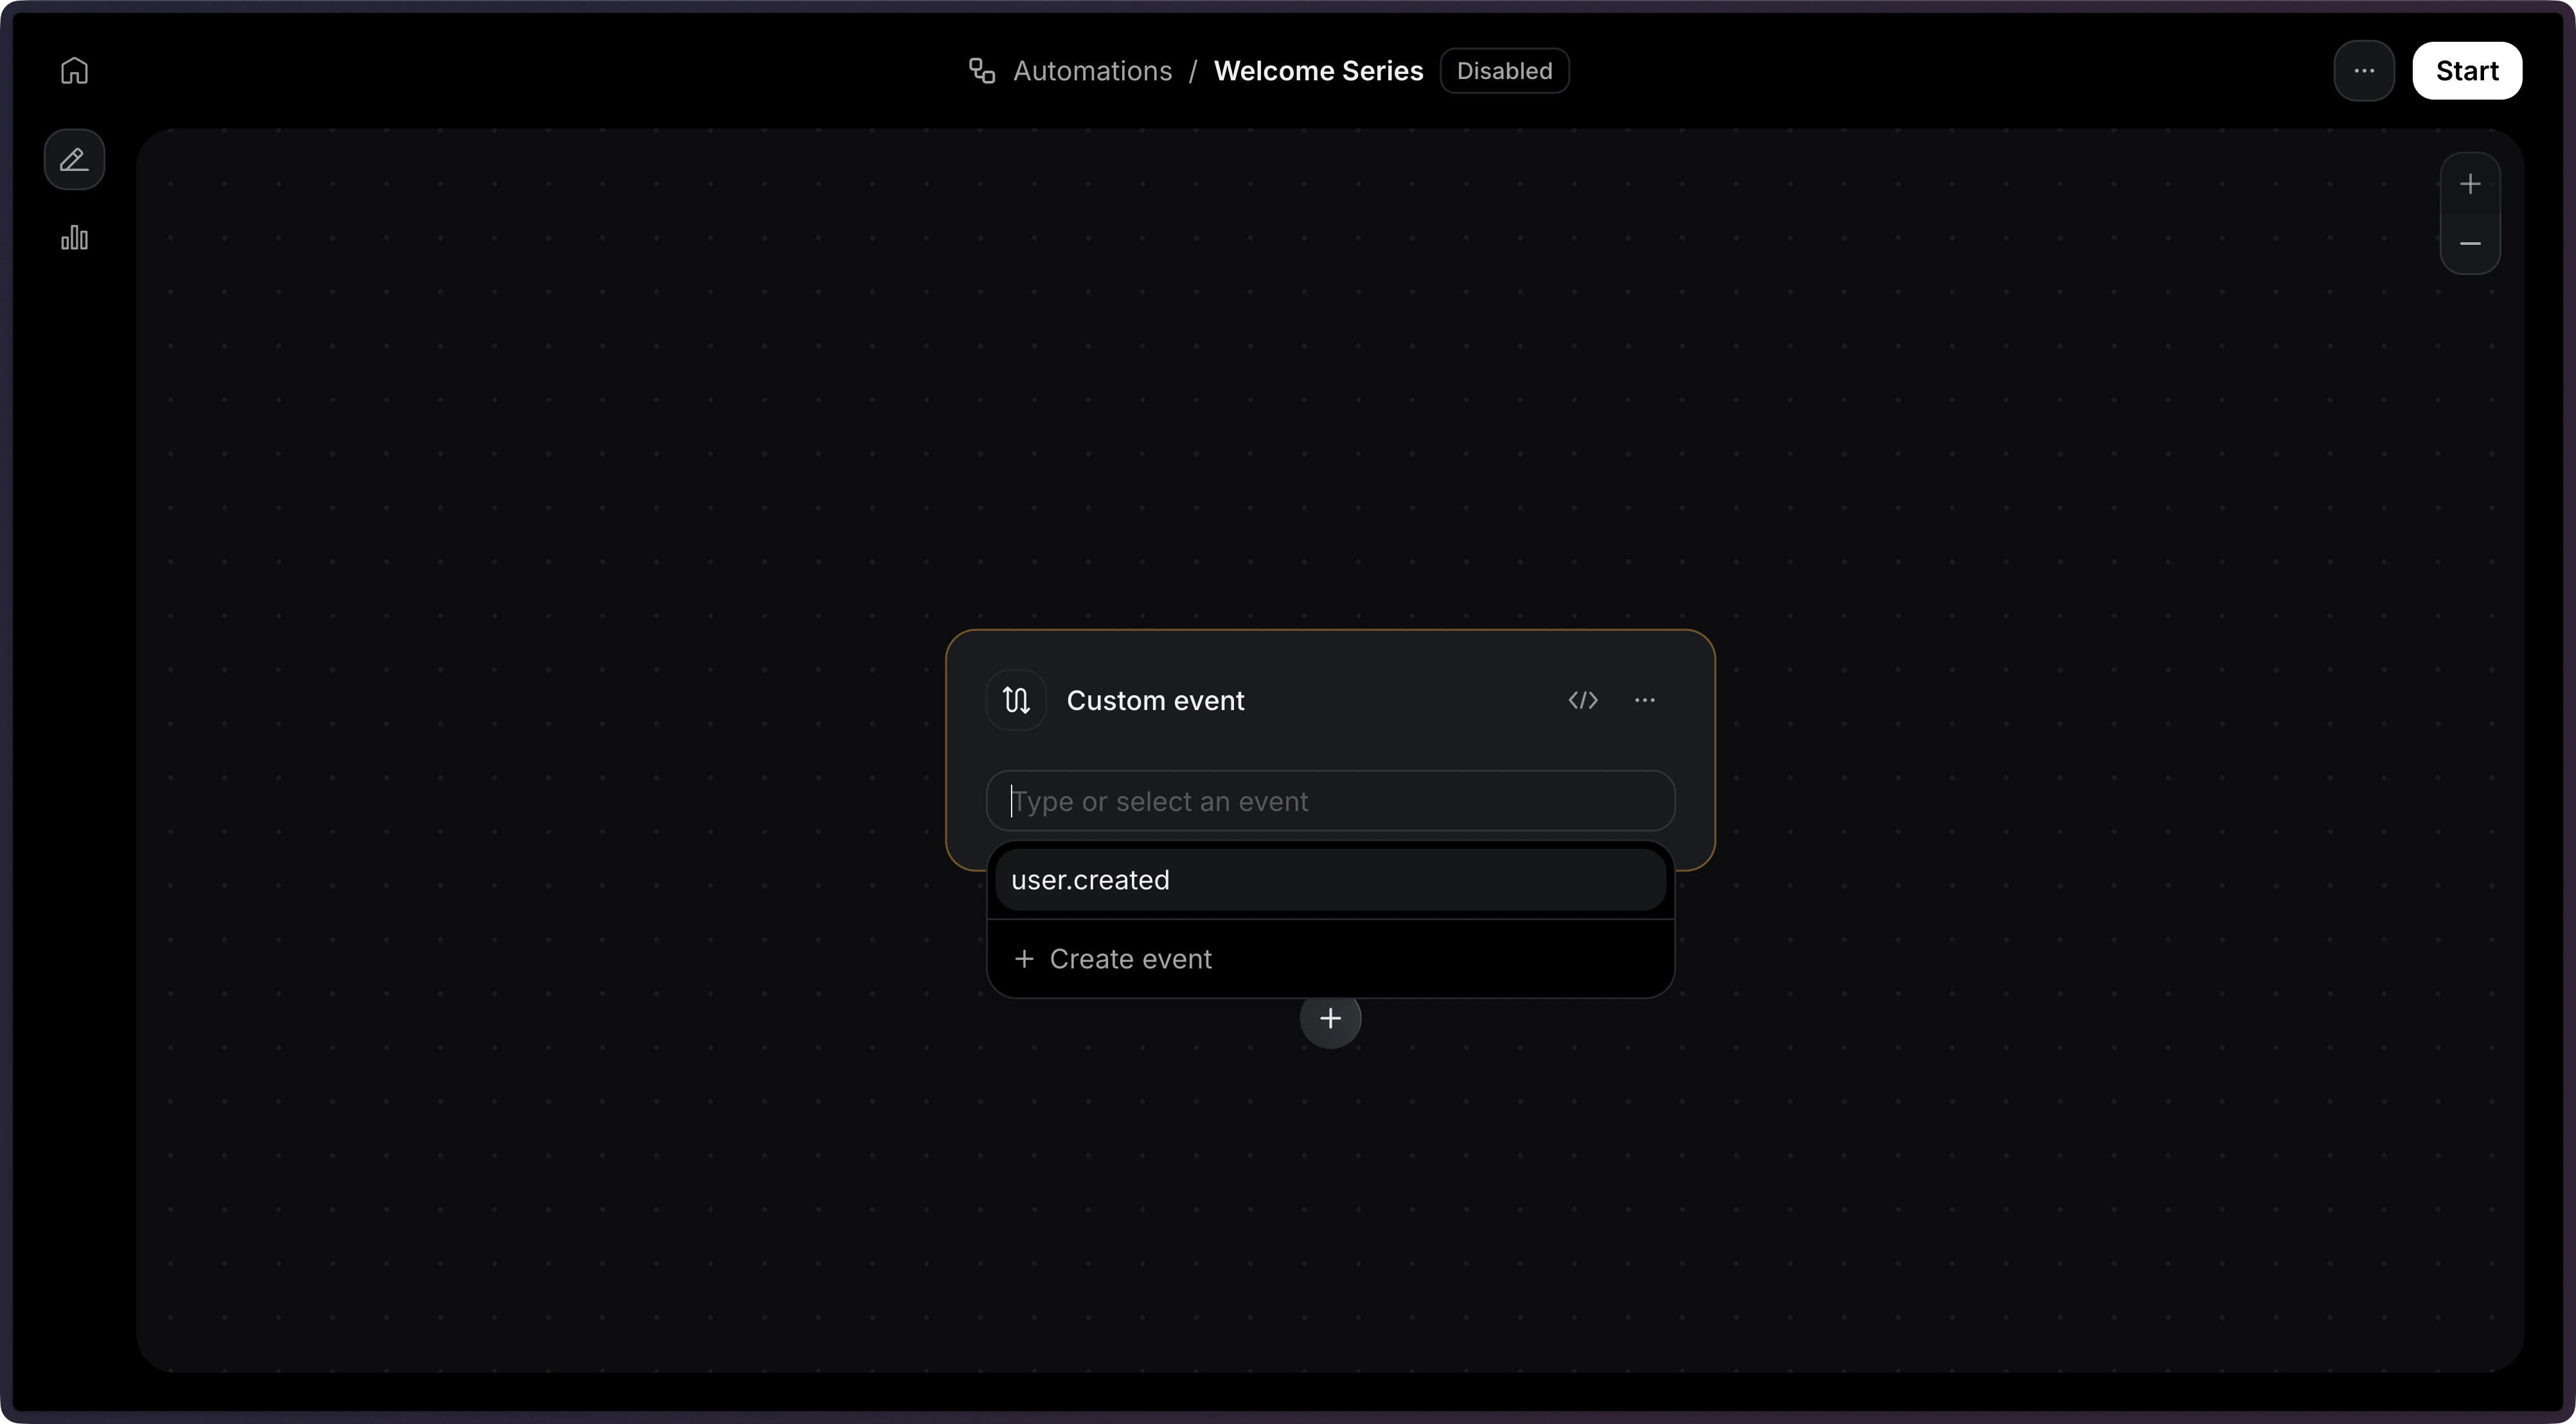
user.created or onboarding.completed, defining it inline or in the Events page.user.created as a trigger.Define Steps
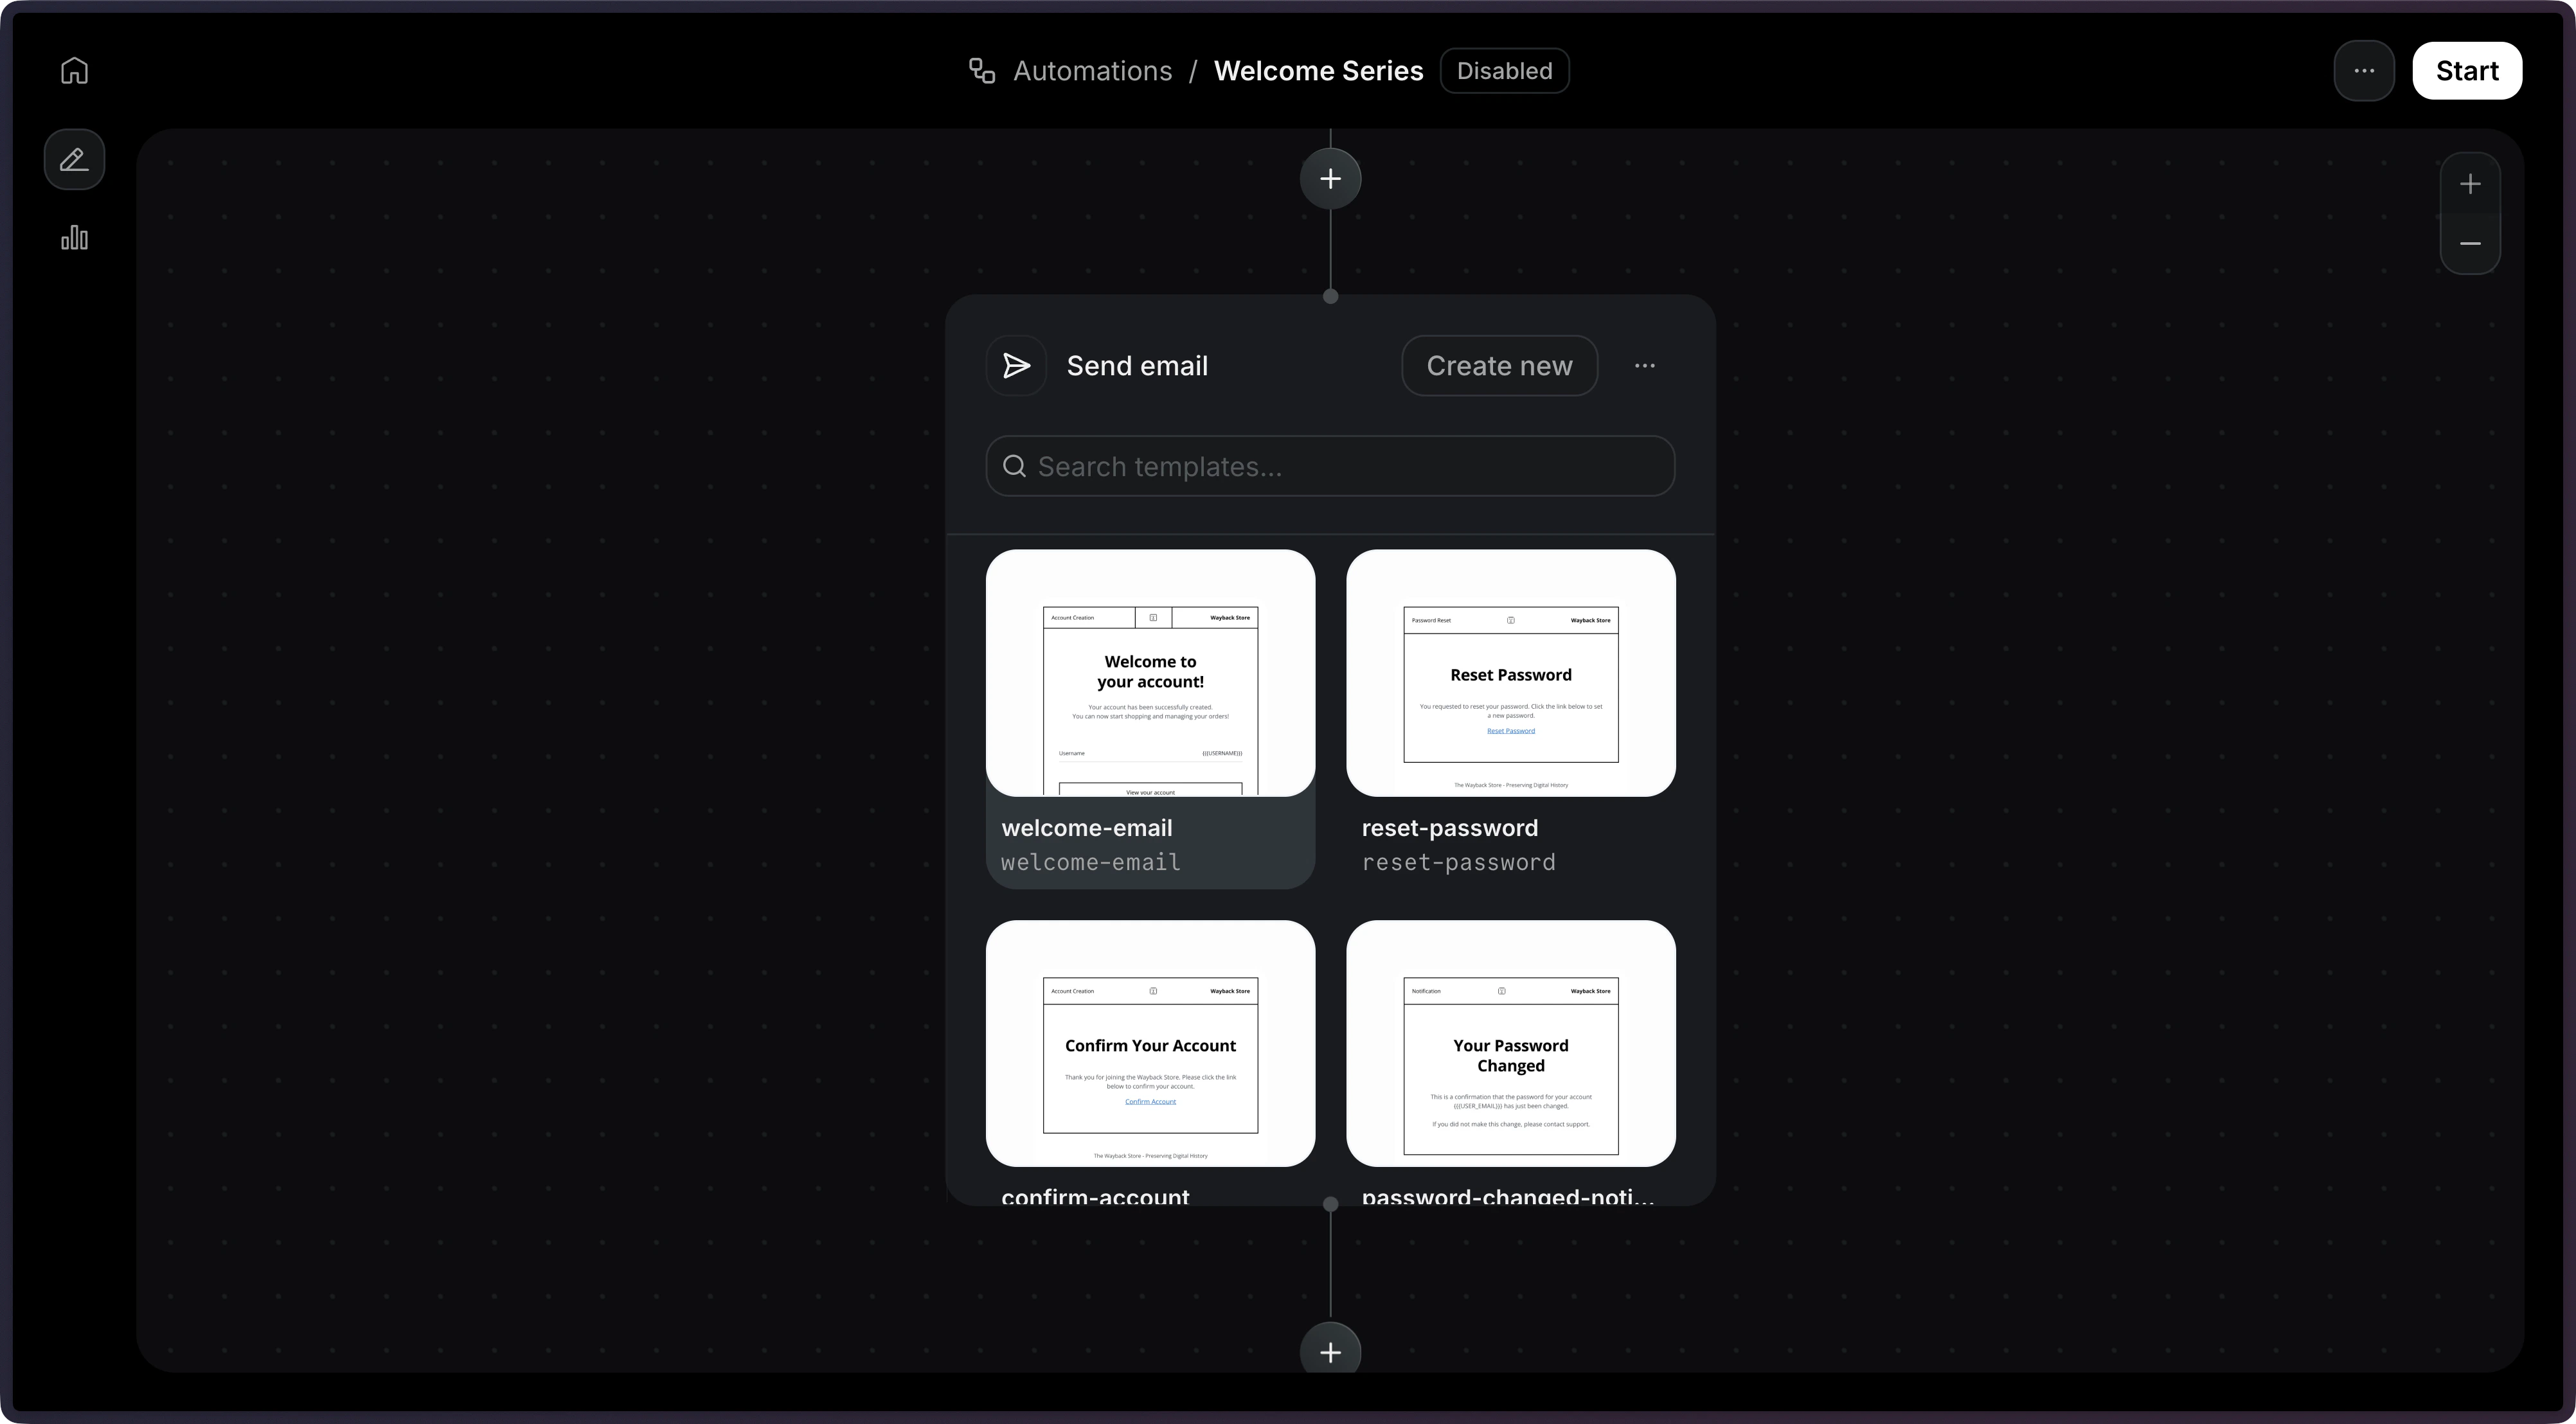
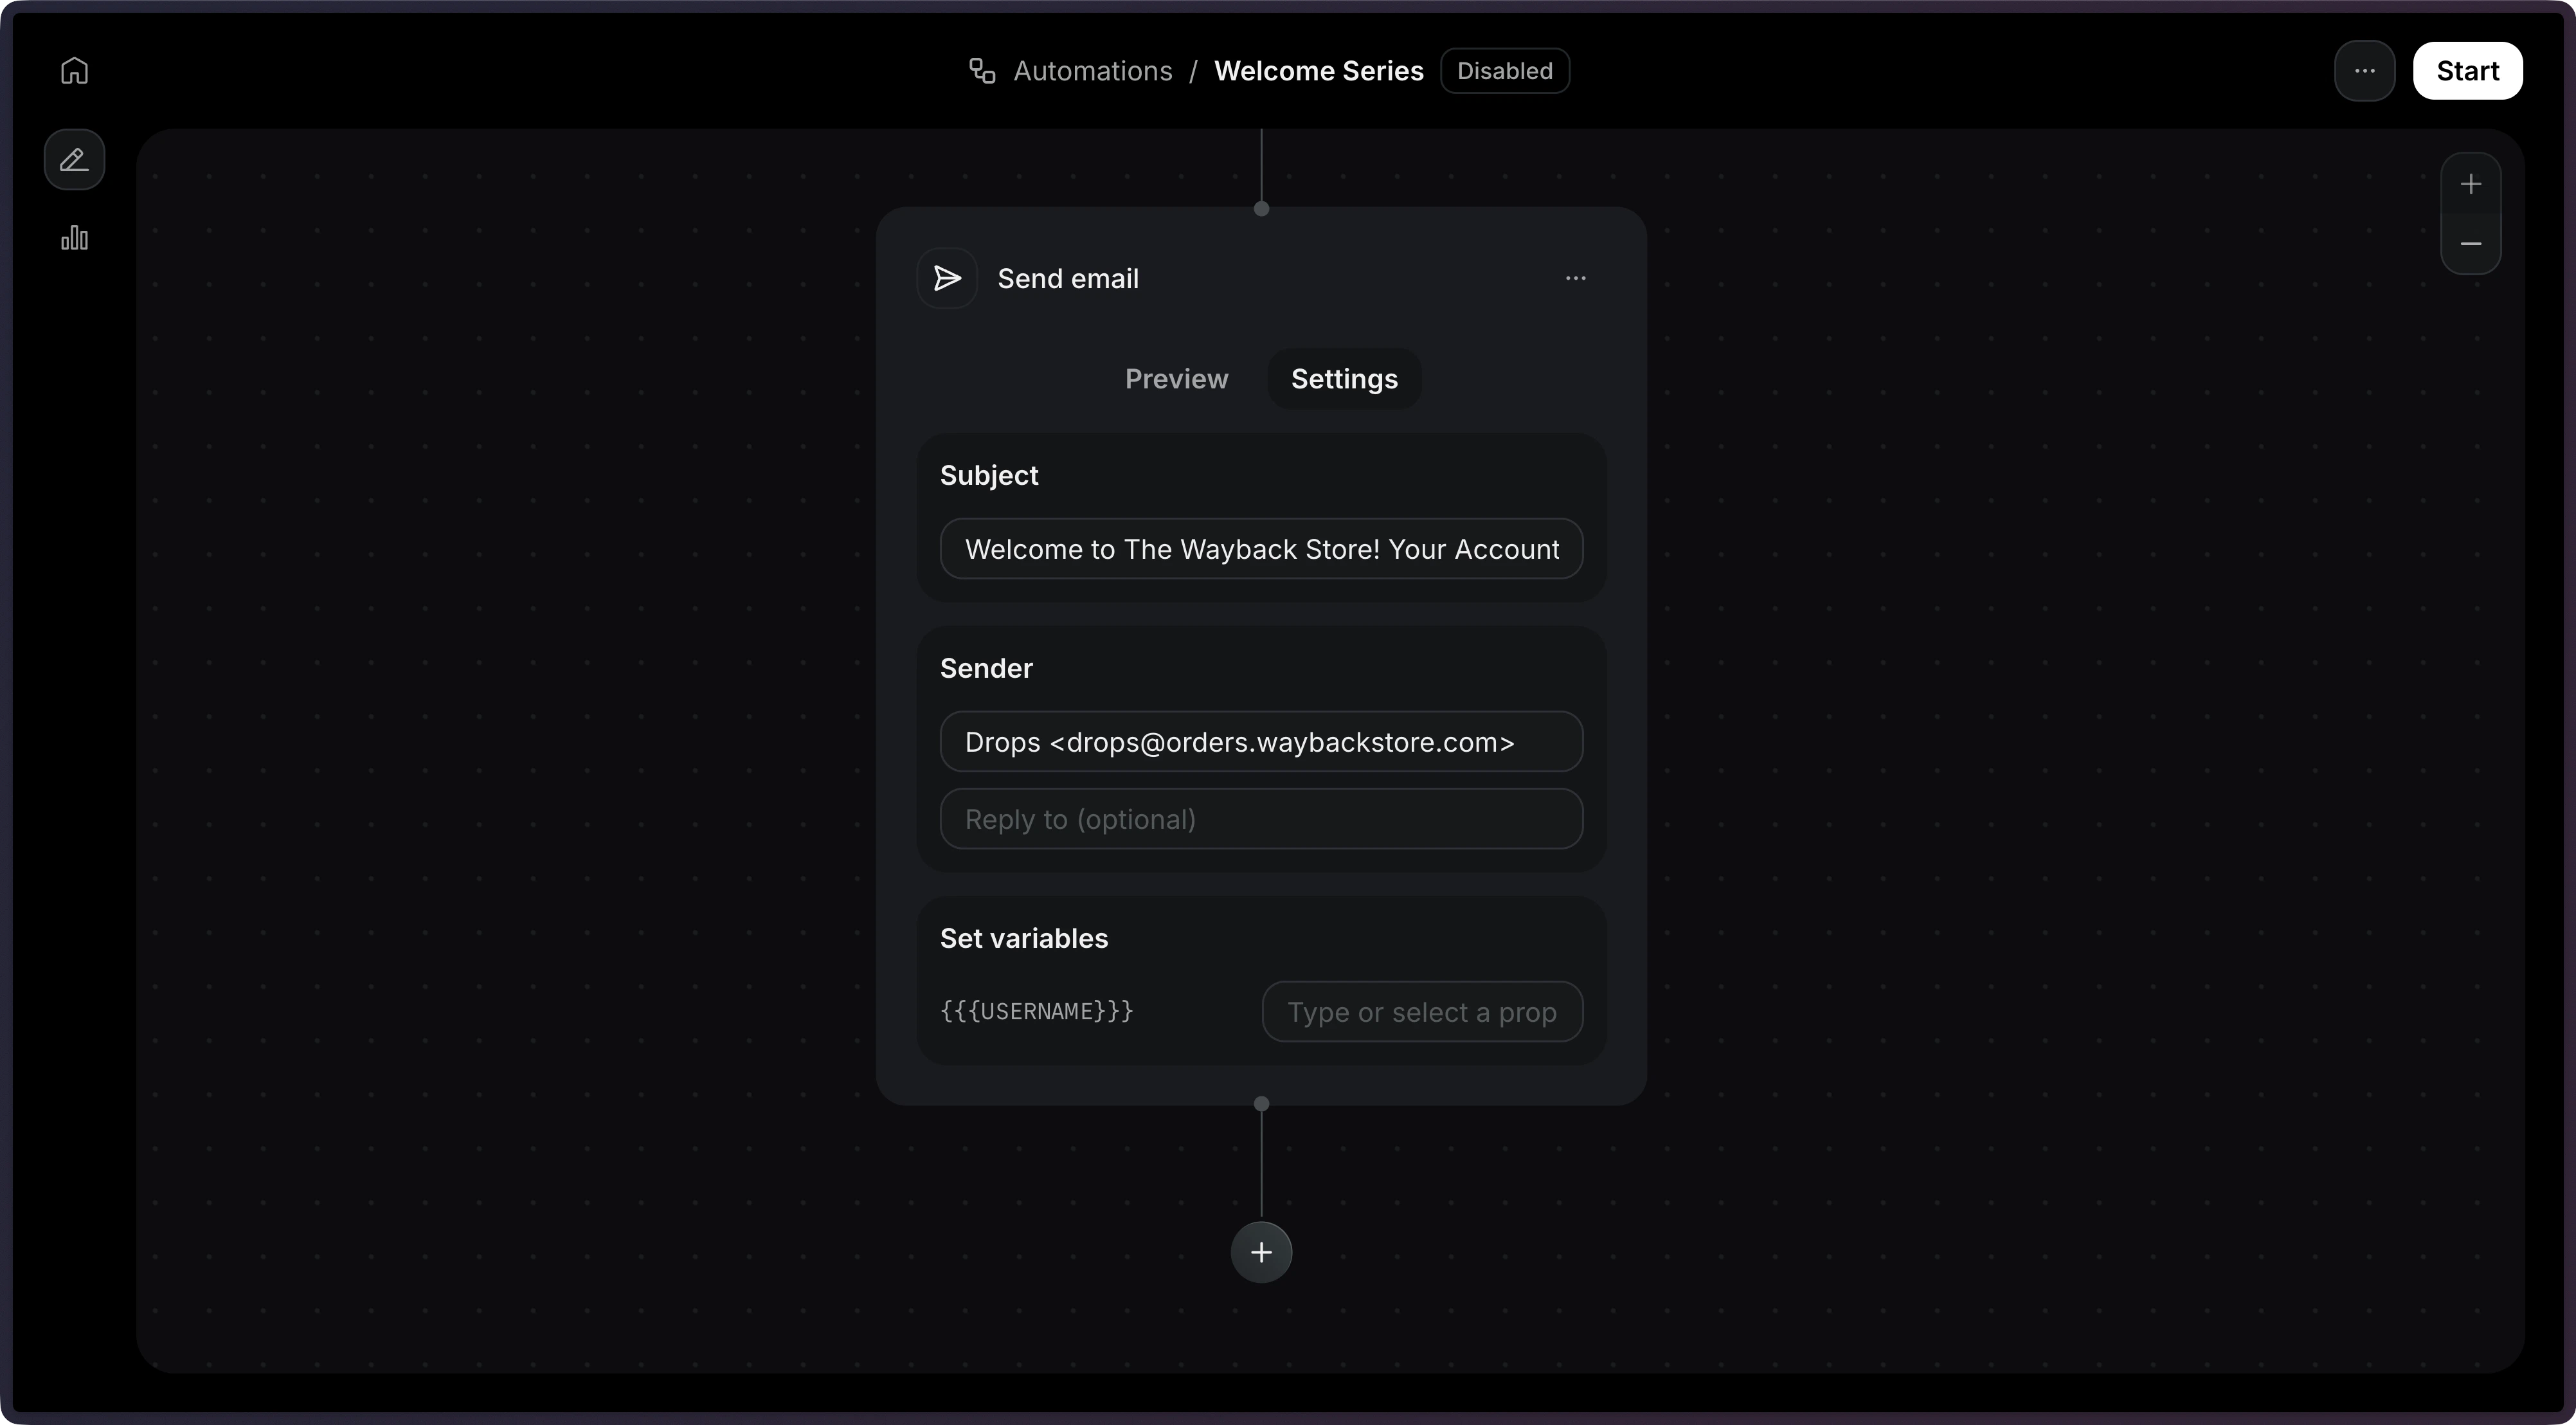
Now, we need to define the steps that will be executed.There are several step types you can add to your Automation:
On this example, we will use the Send Email step.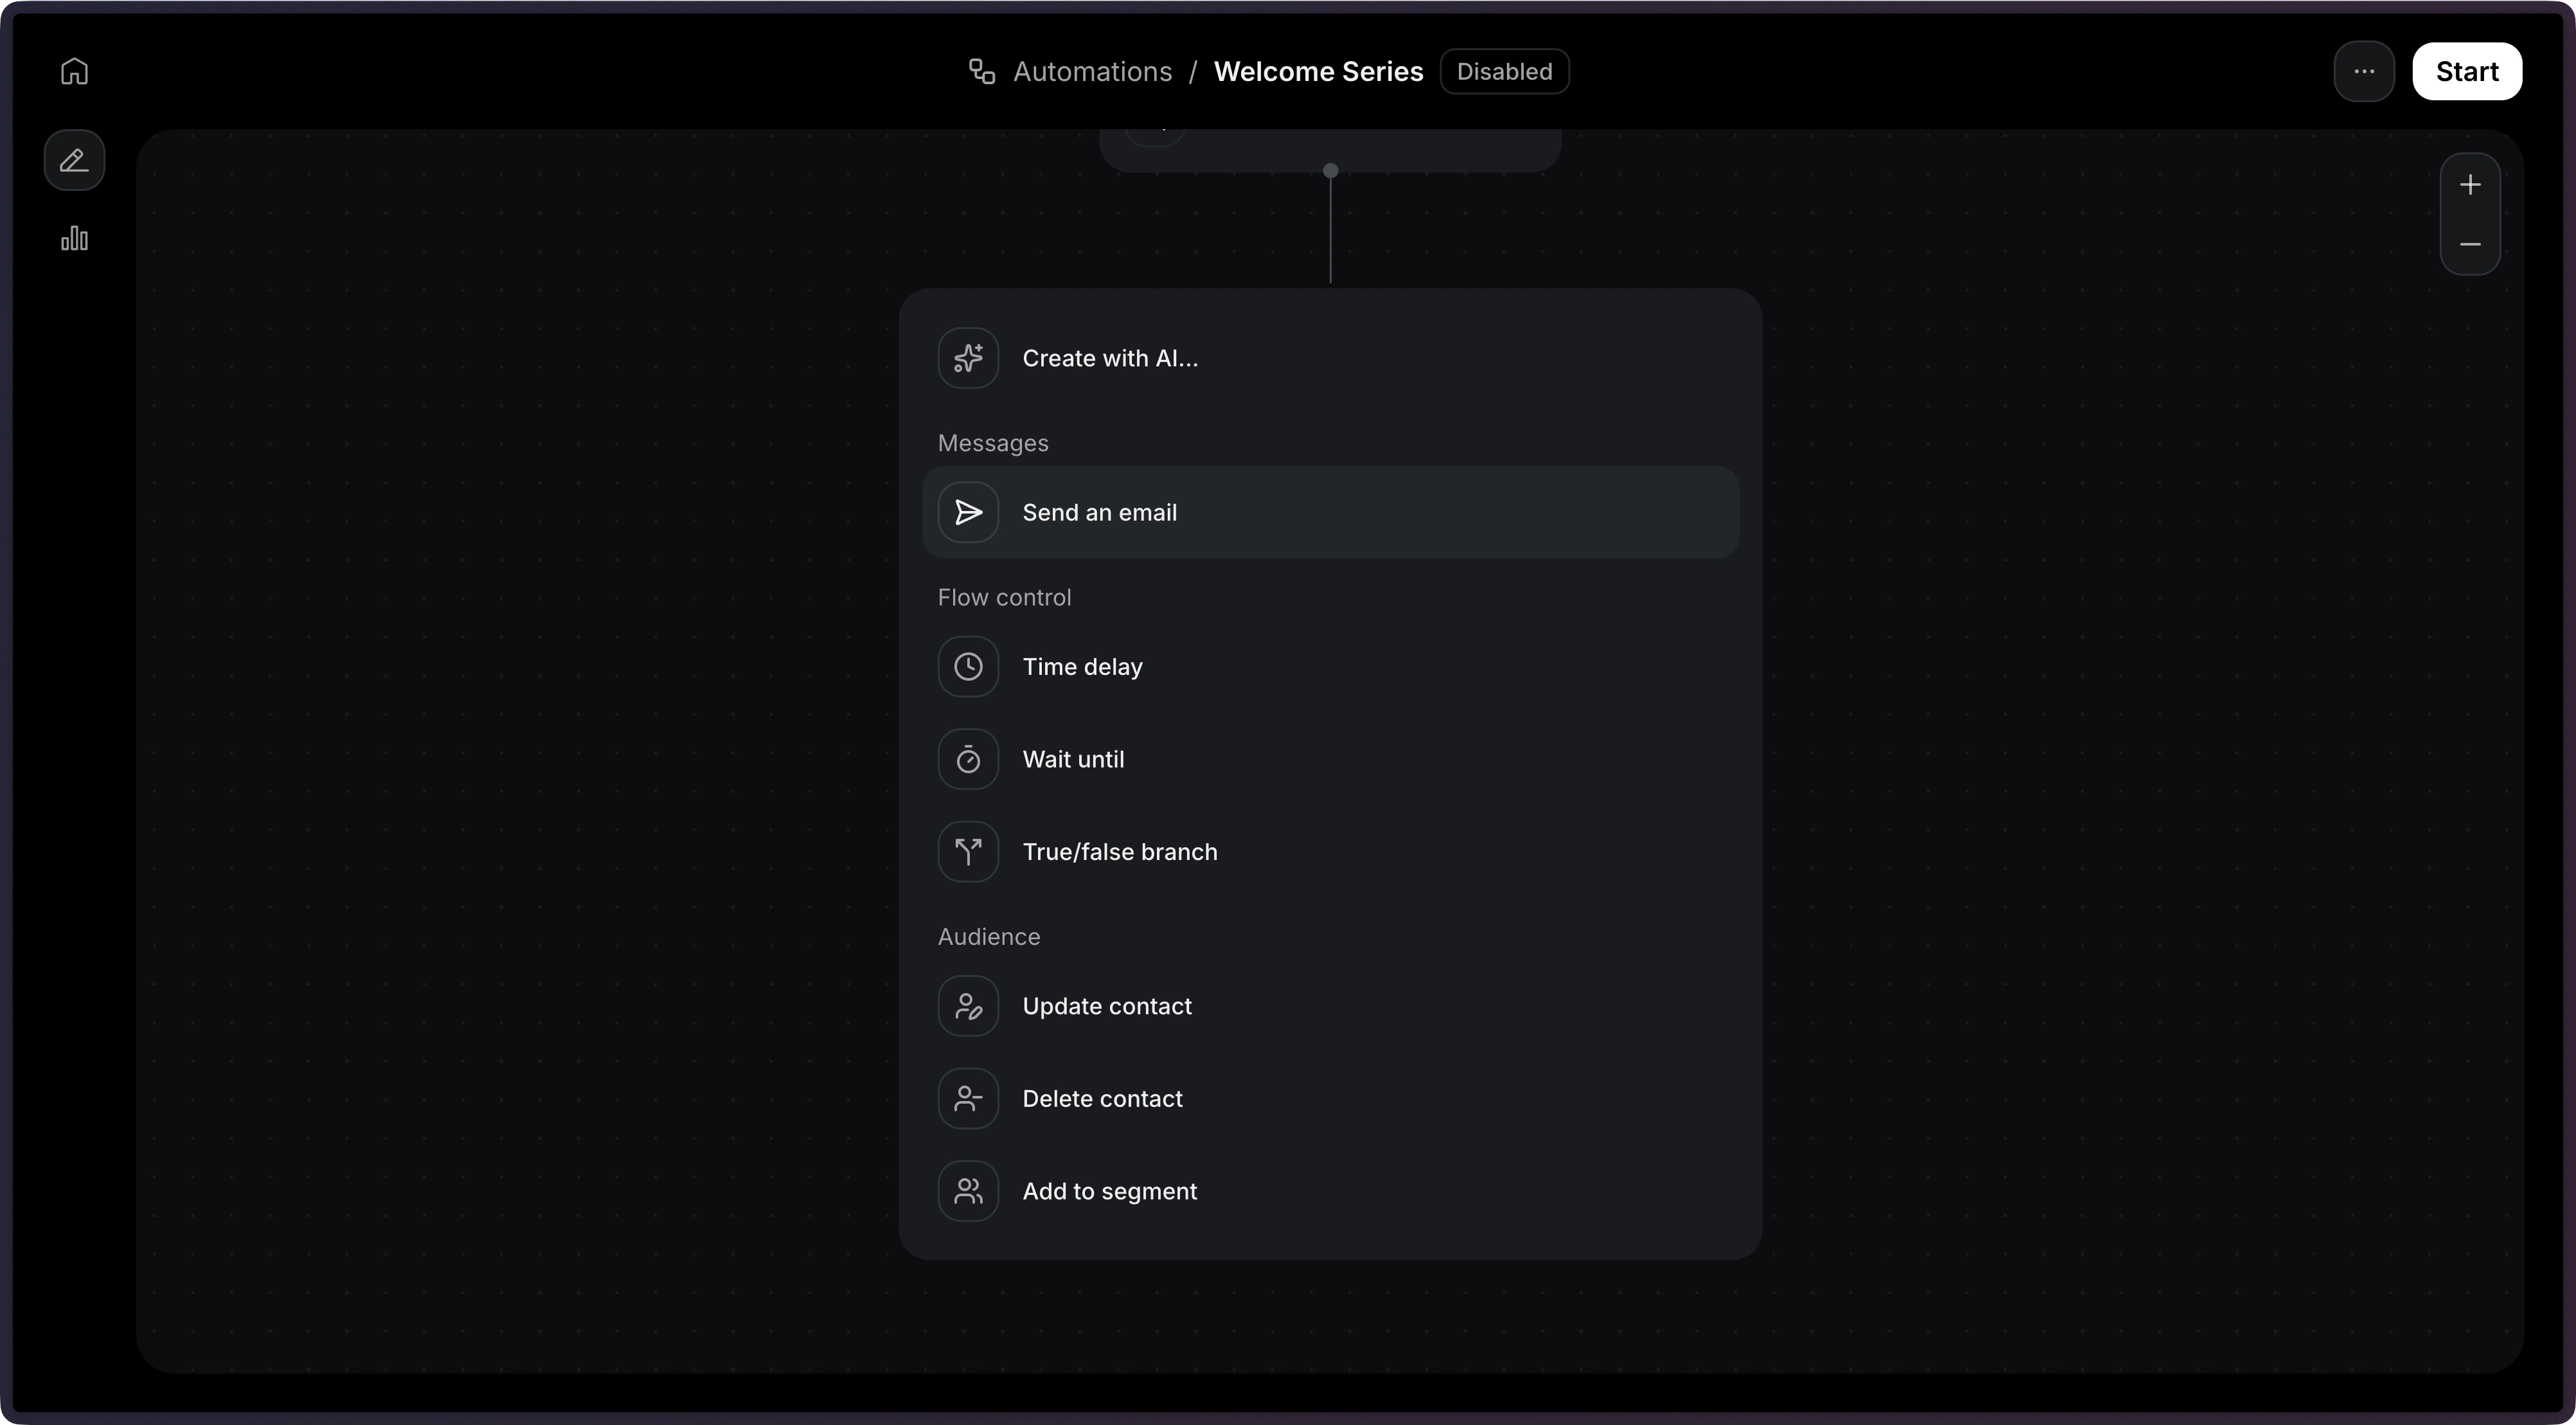
| Step type | Description |
|---|---|
| Condition | Branches the workflow based on rules |
| Delay | Pauses execution for a specified duration |
| Wait for Event | Pauses execution until a specific event is received |
| Send Email | Sends an email using a template |
| Contact Update | Updates a contact’s fields |
| Contact Delete | Deletes the contact |
| Add to Segment | Adds the contact to a segment |
Send an Event
Now, we’re ready to send an event to trigger the Automation.On your application, you can send an event to trigger the Automation by using the API.View the API reference for more details.
Monitor Runs
After sending events, you can monitor your Automation executions through Runs. Each time an event triggers an Automation, a Run is created to track the execution.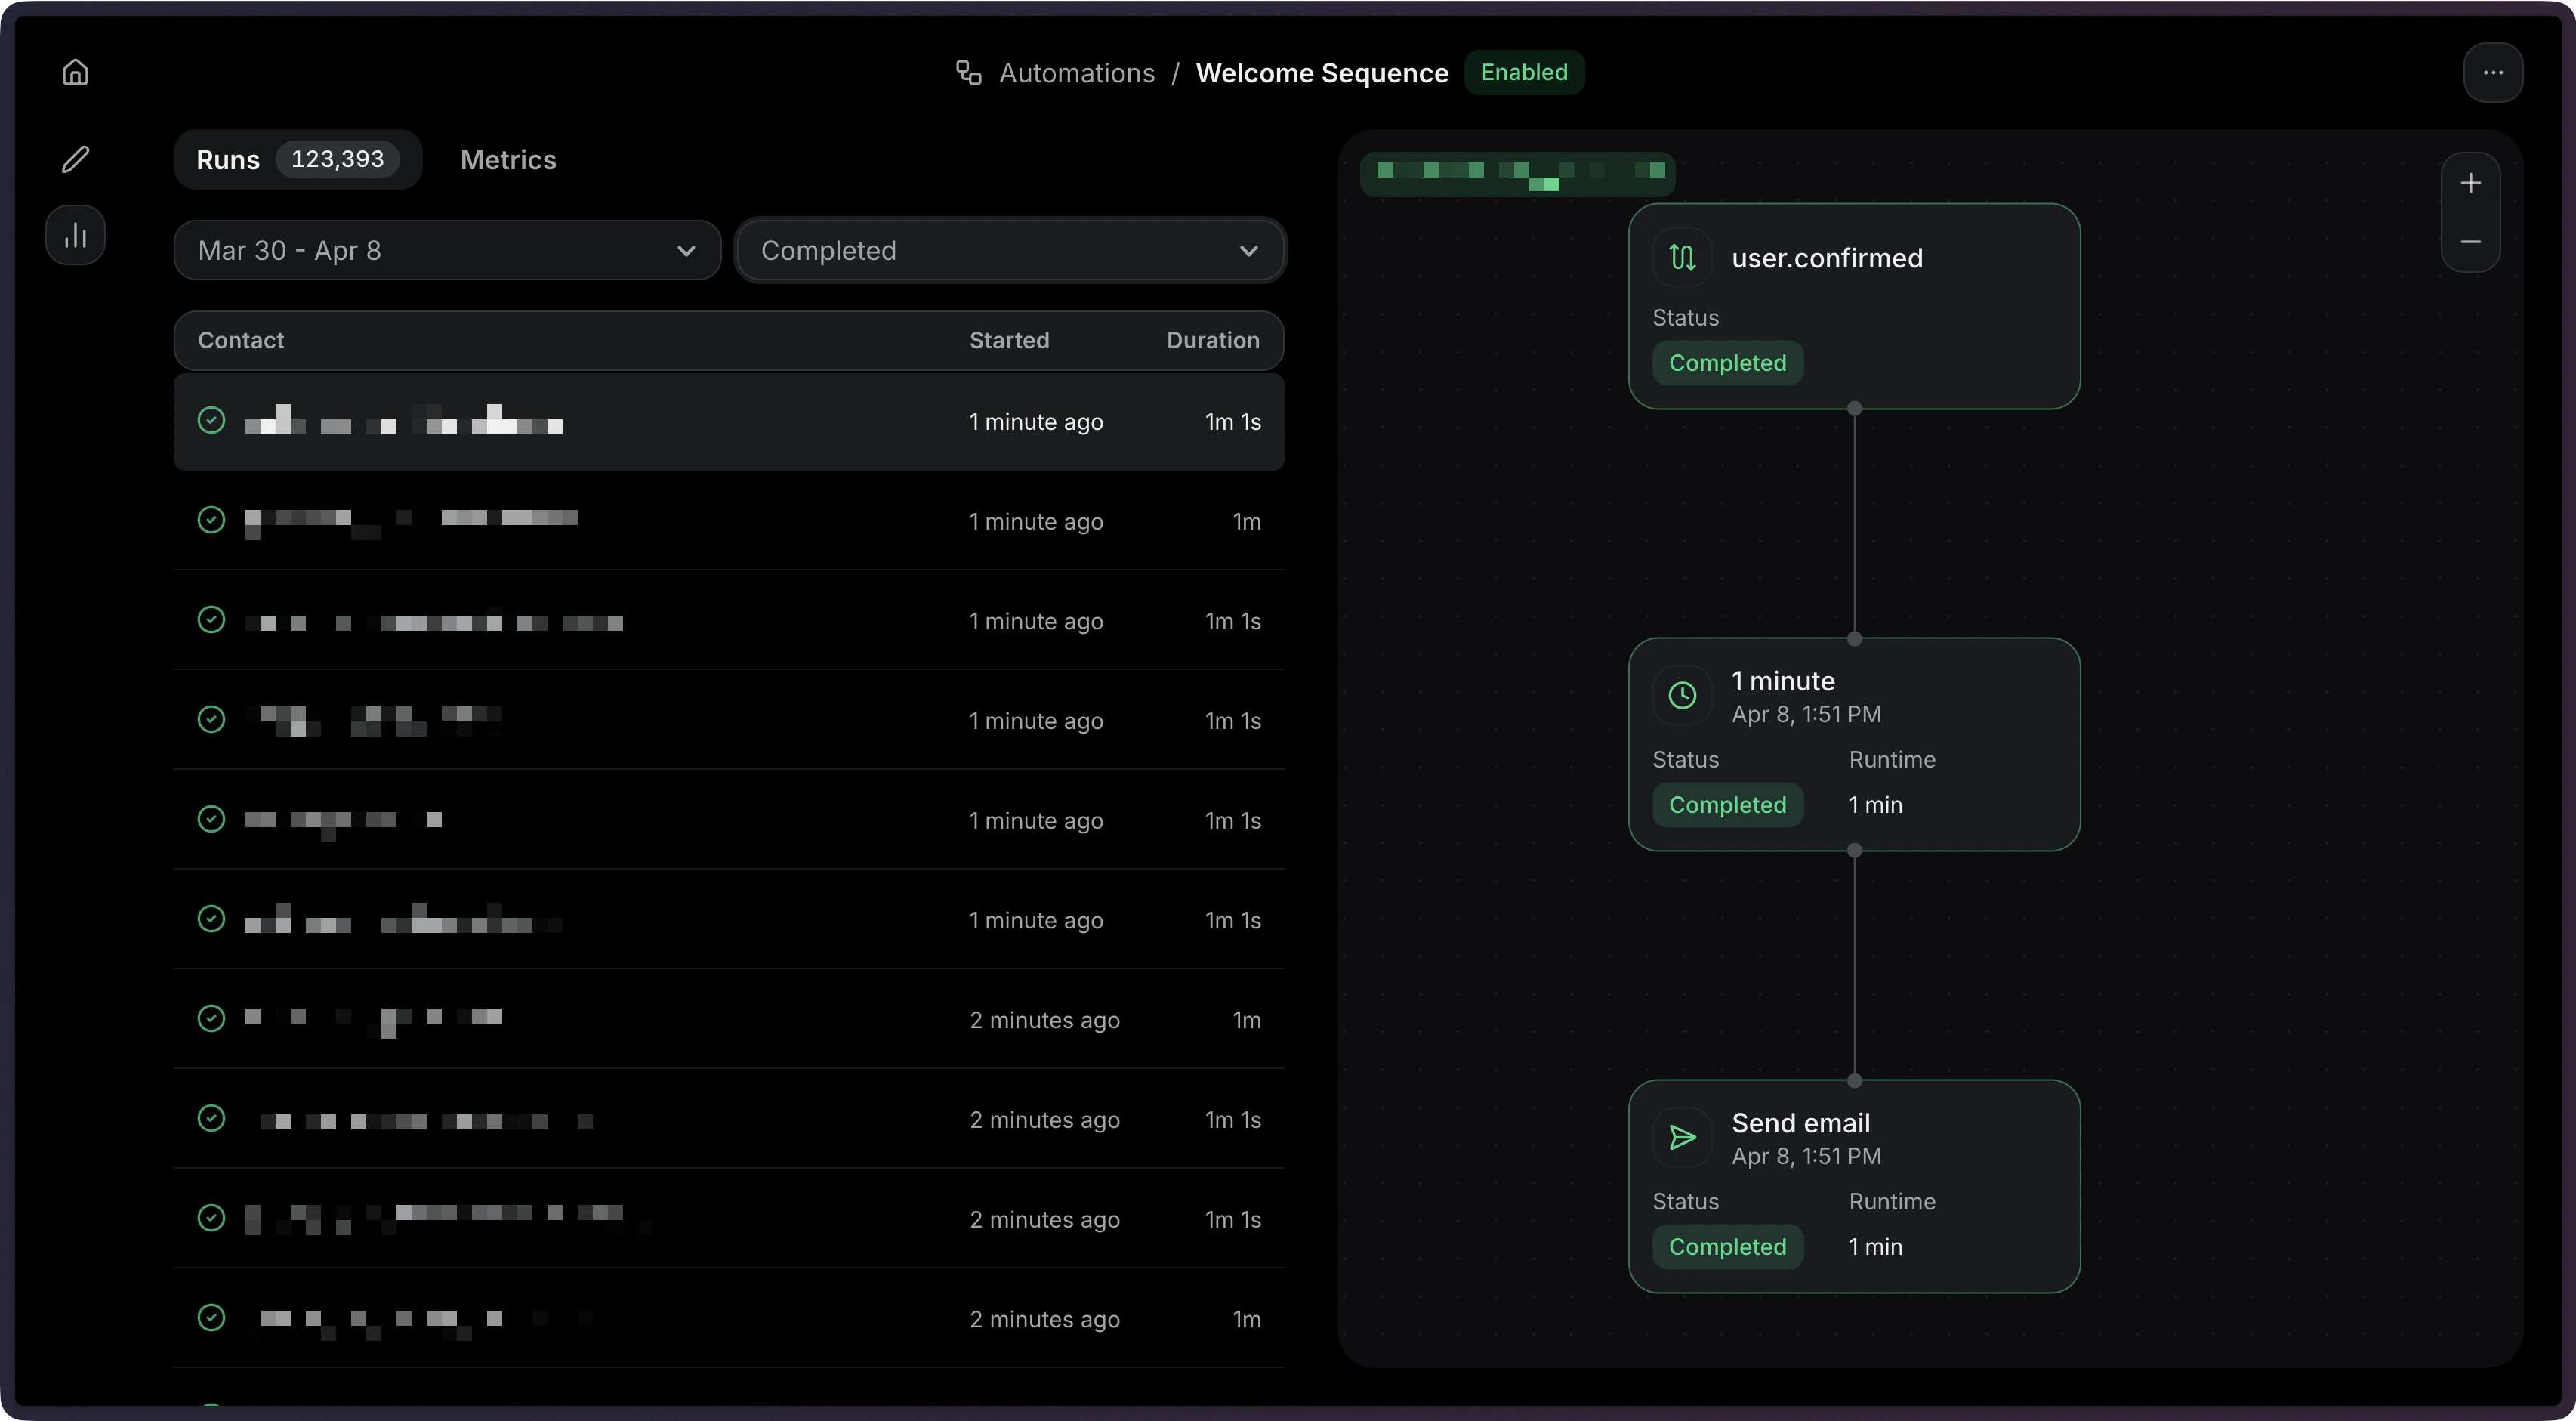
- View Run statuses and execution details
- Filter Runs by status (
running,completed,failed,cancelled) - Debug failed Runs with step-level error information
- Stop Automation Runs when needed